INSTALLATION VIDEOS
Watch instructions for installing various Hohmann & Barnard anchor and flashing products in these easy to follow step-by-step videos.
Anchors
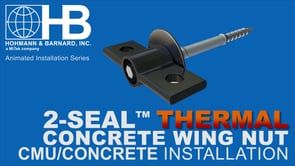
2-Seal™ Thermal Concrete Wing Nut Anchor
CMU/Concrete Installation
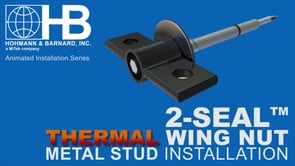
2-Seal™ Thermal Wing Nut Anchor Installation
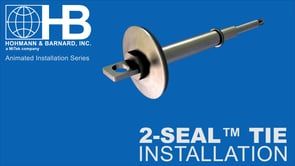
2-Seal™ Tie
Metal Stud Installation
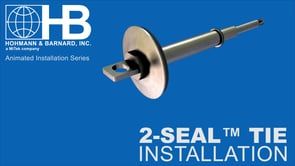
2-Seal™ Concrete Seal Tie
CMU/Concrete Installation
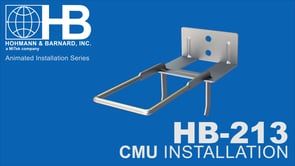
HB-213 Anchor
CMU/Concrete Installation
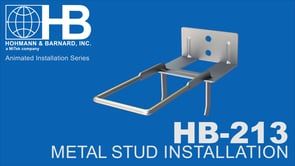
HB-213 Anchor
Metal Stud Installation
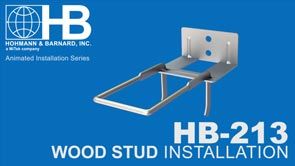
HB-213 Anchor
Wood Stud Installation
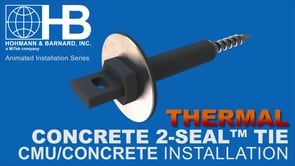
Thermal Concrete 2-Seal™ Tie
CMU/Concrete Installation
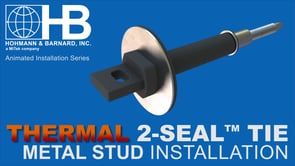
Thermal 2-Seal™ Tie
Metal Stud Installation
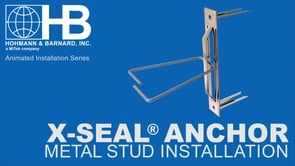
X-SEAL® Anchor
Metal Stud Installation
BLOK-LOK Repair & Restoration Anchors
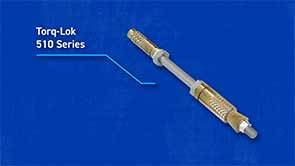
Torq-Lok™ 510 Series
Repair & Restoration Anchor Installation
Engineered Systems
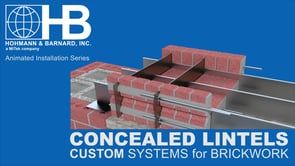
Concealed Lintel System
Flat Spine Custom System Installation
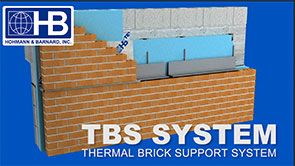
TBS
Thermal Brick Support System
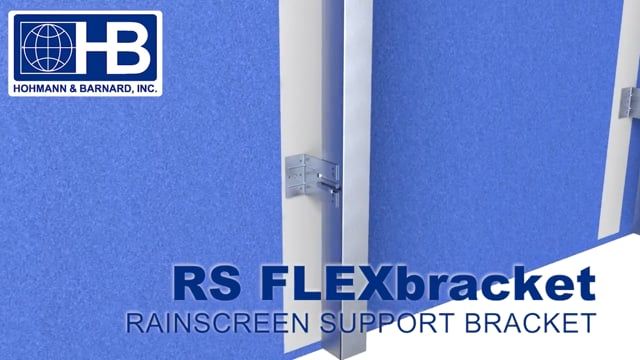
HB RS FLEXbracket
Rainscreen Support Bracket
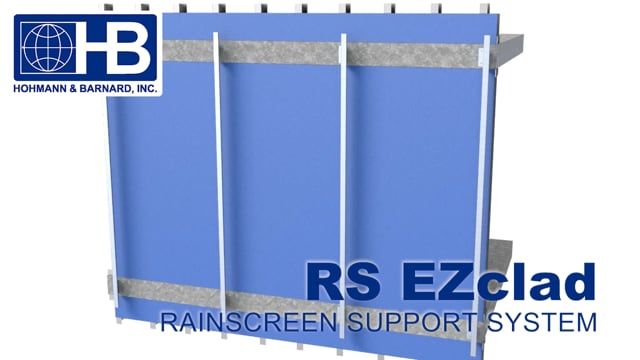
HB RS EZclad
Rainscreen Support System
Flashing Systems
COPPER NA Flashing
Cavity Wall Installation
COPPER SA Flashing
Cavity Wall Installation
Flex-Flash® Flashing
Self-Adhering Flashing Installation
MFL Metal Flashing
Cavity Wall Installation
Mighty-Flash™ ST/ST Fabric Flashing
Cavity Wall Installation
Mighty-Flash™ SA ST/ST Fabric Flashing
Self-Adhering Flashing Installation
TeXtroflash™ Flashing
Self-Adhering Composite Flashing Installation<